


Answer
The reimbursement flow is category setup first, then claim entry, review and payment outcome. Clear category structure is what keeps approvals and reporting clean.
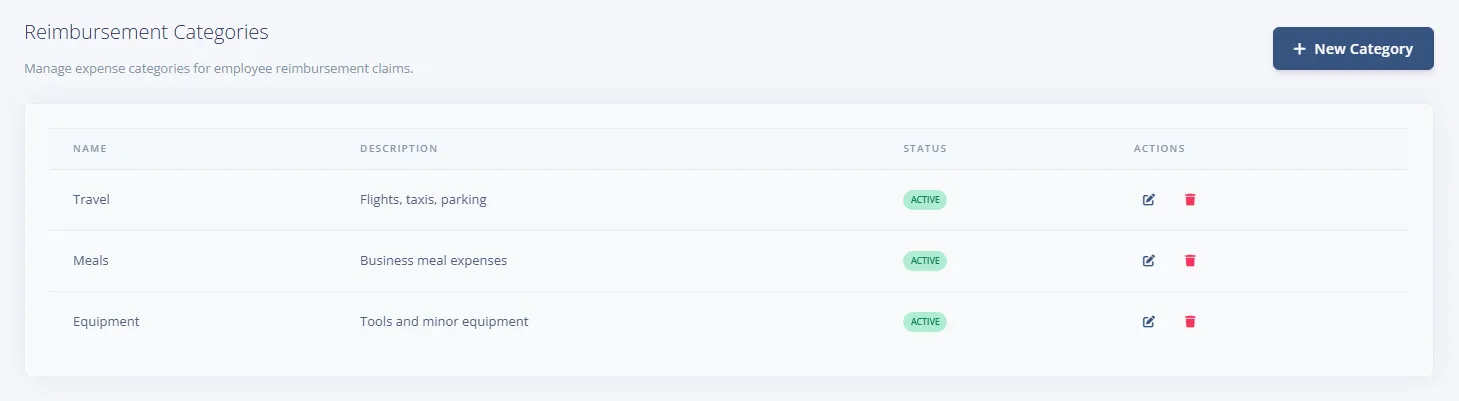
Step 1: Define categories used by employees
- Create categories that match your internal expense policy.
- Retire or deactivate outdated categories to prevent misuse.
- Use clear descriptions so employees choose correctly.
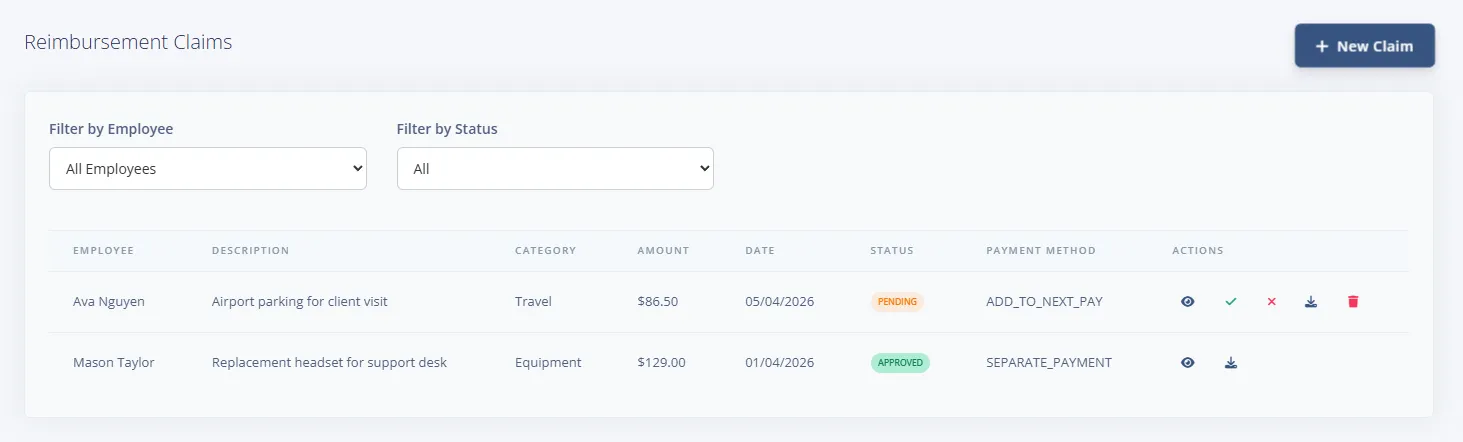
Step 2: Enter claims with complete detail
- Capture amount, date, category and business purpose.
- Attach receipts where required by policy.
- Select the correct payment method for payroll or separate payment.
Step 3: Review claim pipeline
Use the claims list to monitor pending and approved items so reimbursements do not sit unresolved.
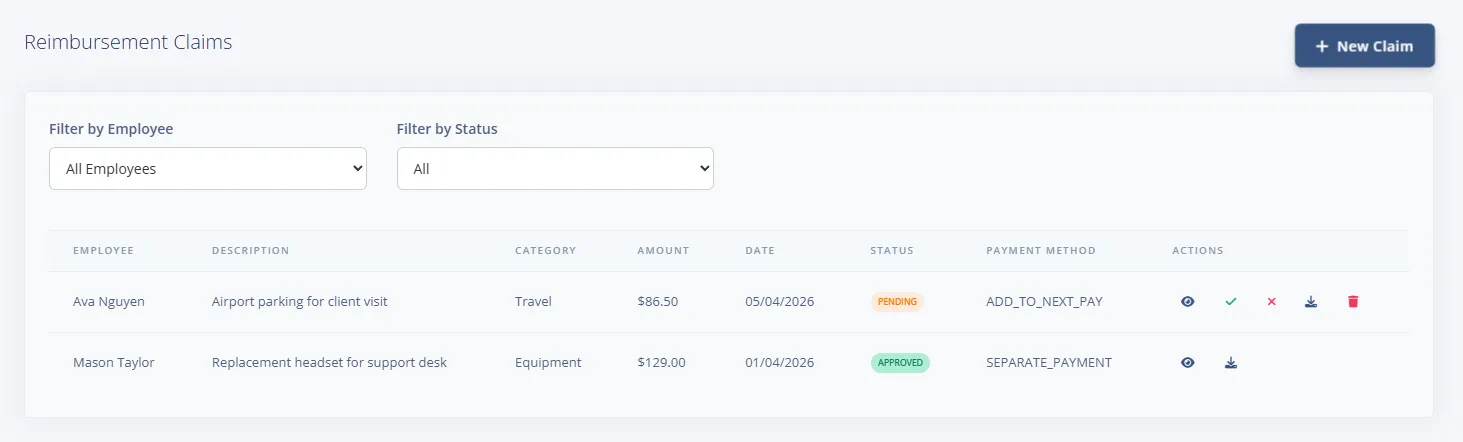
Step 4: Final review and decision
Open each claim, validate evidence, add review notes and approve/reject. This produces a clear audit trail for reimbursement decisions.
Step 5: Payment
How an approved claim is paid depends on the payment method chosen on the claim:
- Add to Next Pay claims flow into the employee's next pay run automatically as a reimbursement line. This also works from the desktop app: when you open the Pays screen, approved web claims are synced in and appear on the pay's Reimbursements tab with their Portal Claim ID. Once the pay is completed, the claim's status changes to Paid. Removing the line or emptying the pay returns the claim to Approved.
- Separate Payment claims are settled outside payroll (for example by direct bank transfer) and remain listed as Approved in the claims list.
For how a reimbursement line behaves on the pay and payslip, see How Do Reimbursements Appear On A Pay And Payslip?

