Answer
Payslips are generated from the Pays screen. The full path is: open the Pays screen >> pick the right pay period and pay run >> click Payslips >> choose This Pay Run or Multiple Pay Runs >> complete the wizard. The example below walks through creating payslips for the pay period starting 20/04 and ending 26/04.
Step 1: Open the Pays screen and select the correct pay run
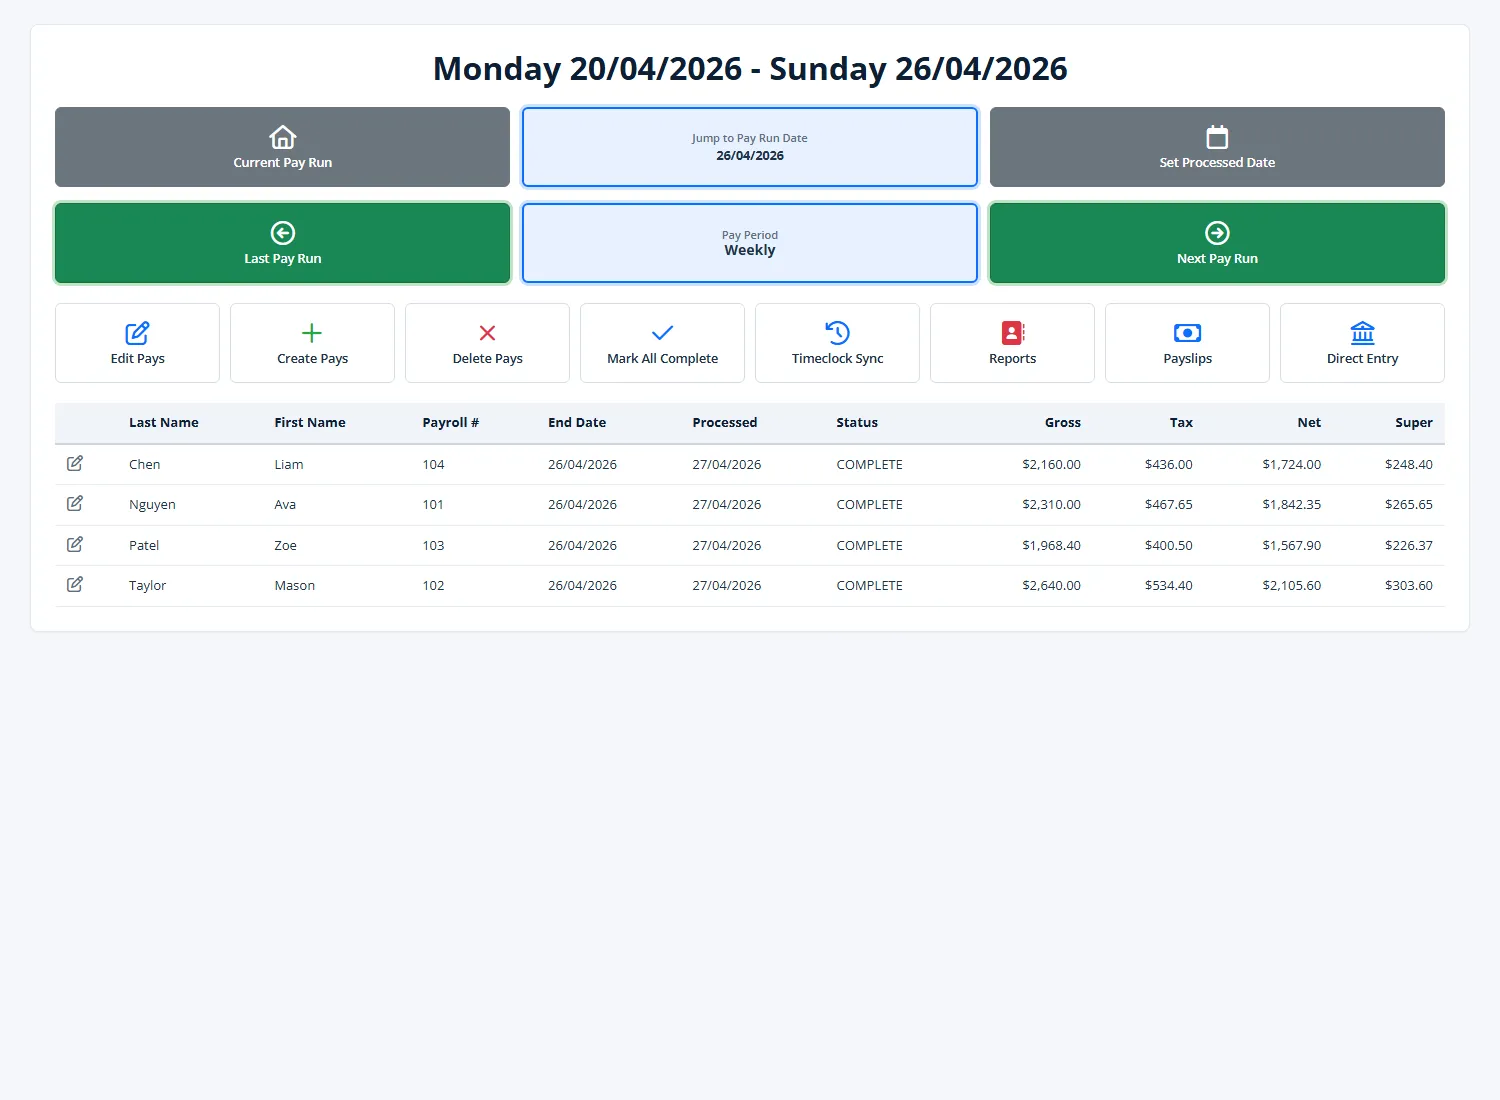
The header at the top of the Pays screen shows the currently loaded pay run (start date and end date). Use these controls to navigate to the pay run you want to create payslips for:
- Set the pay period using the period combo (Weekly, Fortnightly, or Monthly).
- Use Last Pay Run and Next Pay Run to step through pay runs one period at a time.
- Use Jump to Pay Run Date to jump straight to a specific date - for example pick any date between 20/04/2026 and 26/04/2026 to load that weekly pay run.
- Use Current Pay Run to snap back to the most recent pay run.
Confirm the header shows the expected start and end dates (for example Monday 20/04/2026 - Sunday 26/04/2026) and that the pay rows below show the employees and amounts you expect. Pays must be marked COMPLETE before they can be turned into payslips.

Step 2: Click Payslips and choose your scope
Click the Payslips button. A menu opens with three choices:
- This Pay Run - the most common option. Generates payslips for the pay run already loaded on screen (in this example, 20/04 - 26/04). The wizard skips the date range and employee-selection steps because it already knows which pays apply.
- Multiple Pay Runs - use this when you need payslips that span more than one pay run, for example reissuing the last fortnight or printing a custom date range. The wizard starts with a date range step and an employee-selection step so you can scope the search.
- In the desktop app: Configure Payslip Logo - opens a separate screen for uploading or adjusting your company logo on payslips. This is set-and-forget and does not generate payslips.
- In the online (web/mobile) app: Payslip Logo Settings - opens the equivalent logo configuration screen.
For the example pay run 20/04 - 26/04 you can use either This Pay Run (when that period is already loaded) or Multiple Pay Runs (and enter the dates manually). The next steps describe the longer Multiple Pay Runs path because it is a superset of the This Pay Run flow.
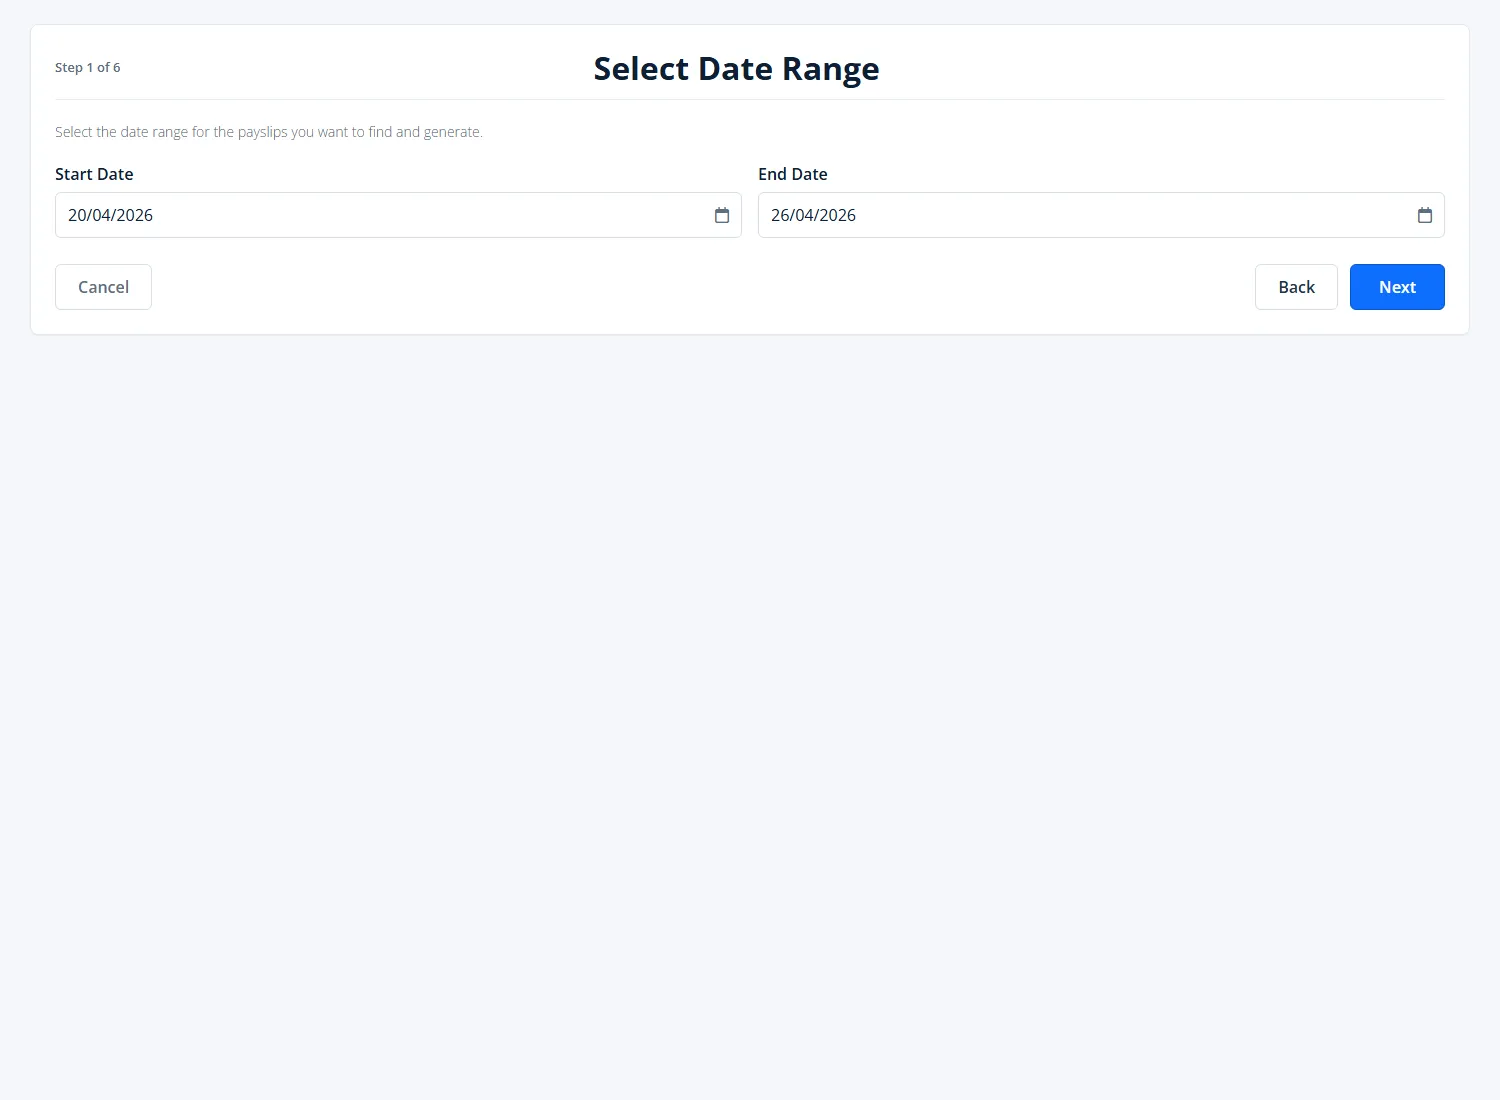
Step 3: Set the date range (Multiple Pay Runs only)
Choose the Start Date and End Date for the search. For the worked example, set:
- Start Date: 20/04/2026
- End Date: 26/04/2026
The wizard will only consider completed pays with a pay run end date that falls within this range. If you set the start date after the end date, the wizard automatically aligns them so you cannot continue with an invalid range.
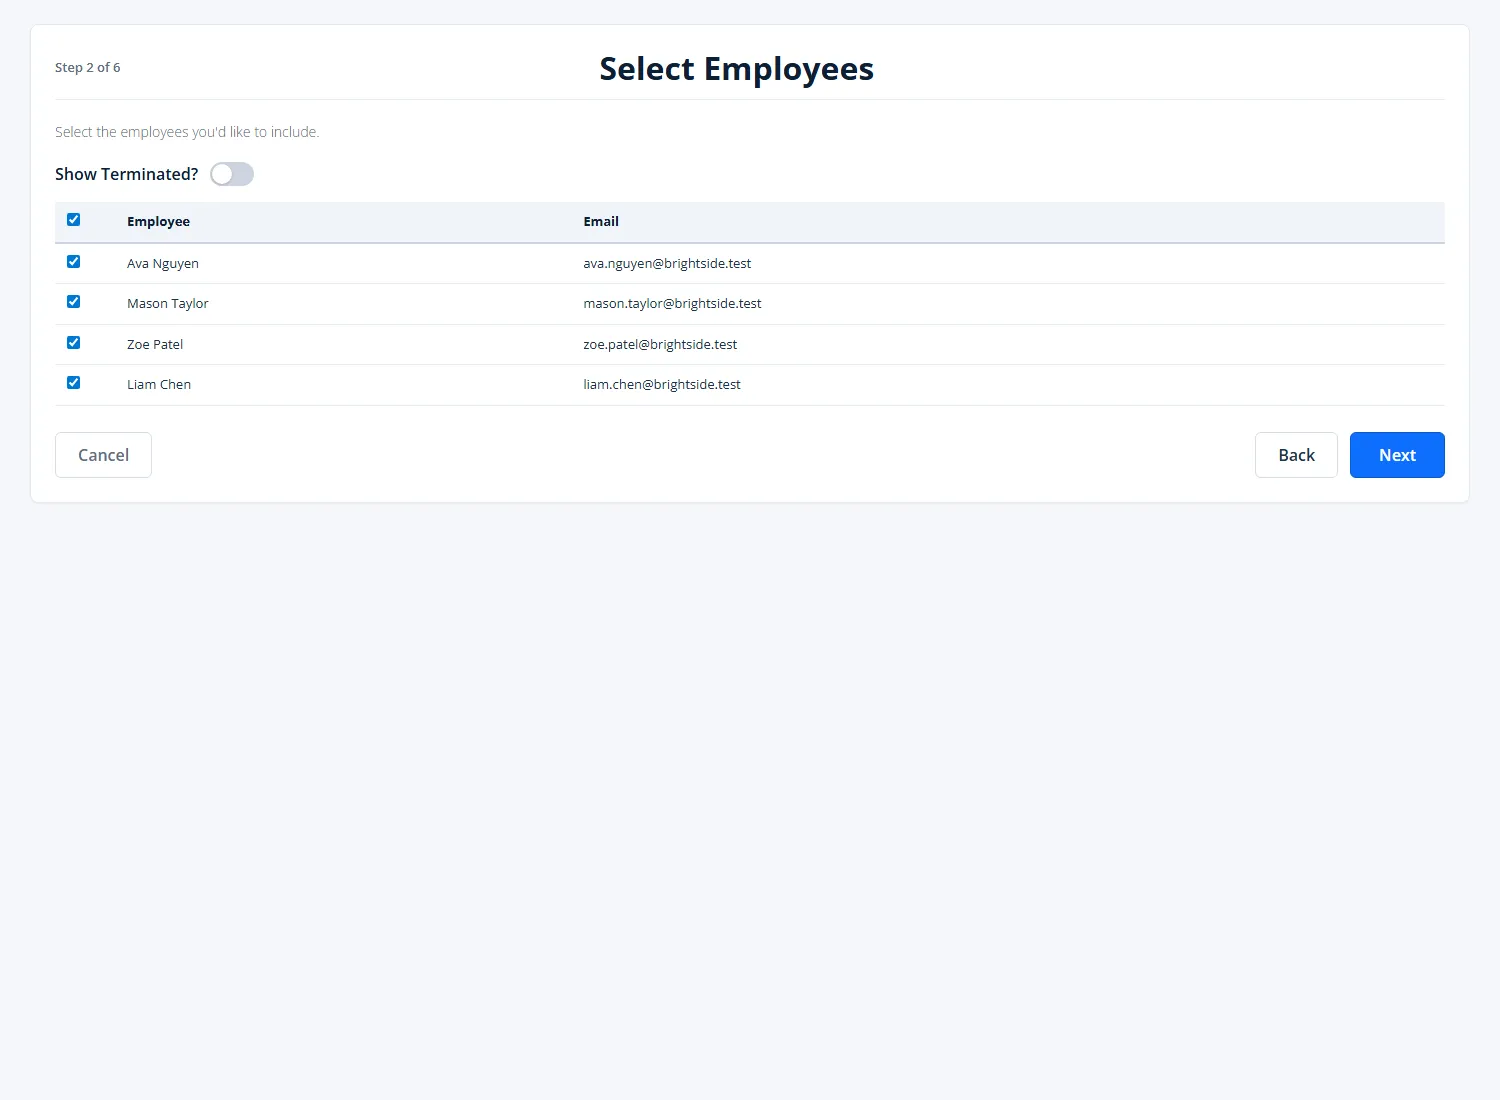
Step 4: Select employees (Multiple Pay Runs only)
Tick the employees whose payslips you want to include. By default all current employees are pre-selected and terminated employees are hidden. Toggle Show Terminated? if you also need payslips for terminated employees within the date range. You must select at least one employee before you can move to the next step.
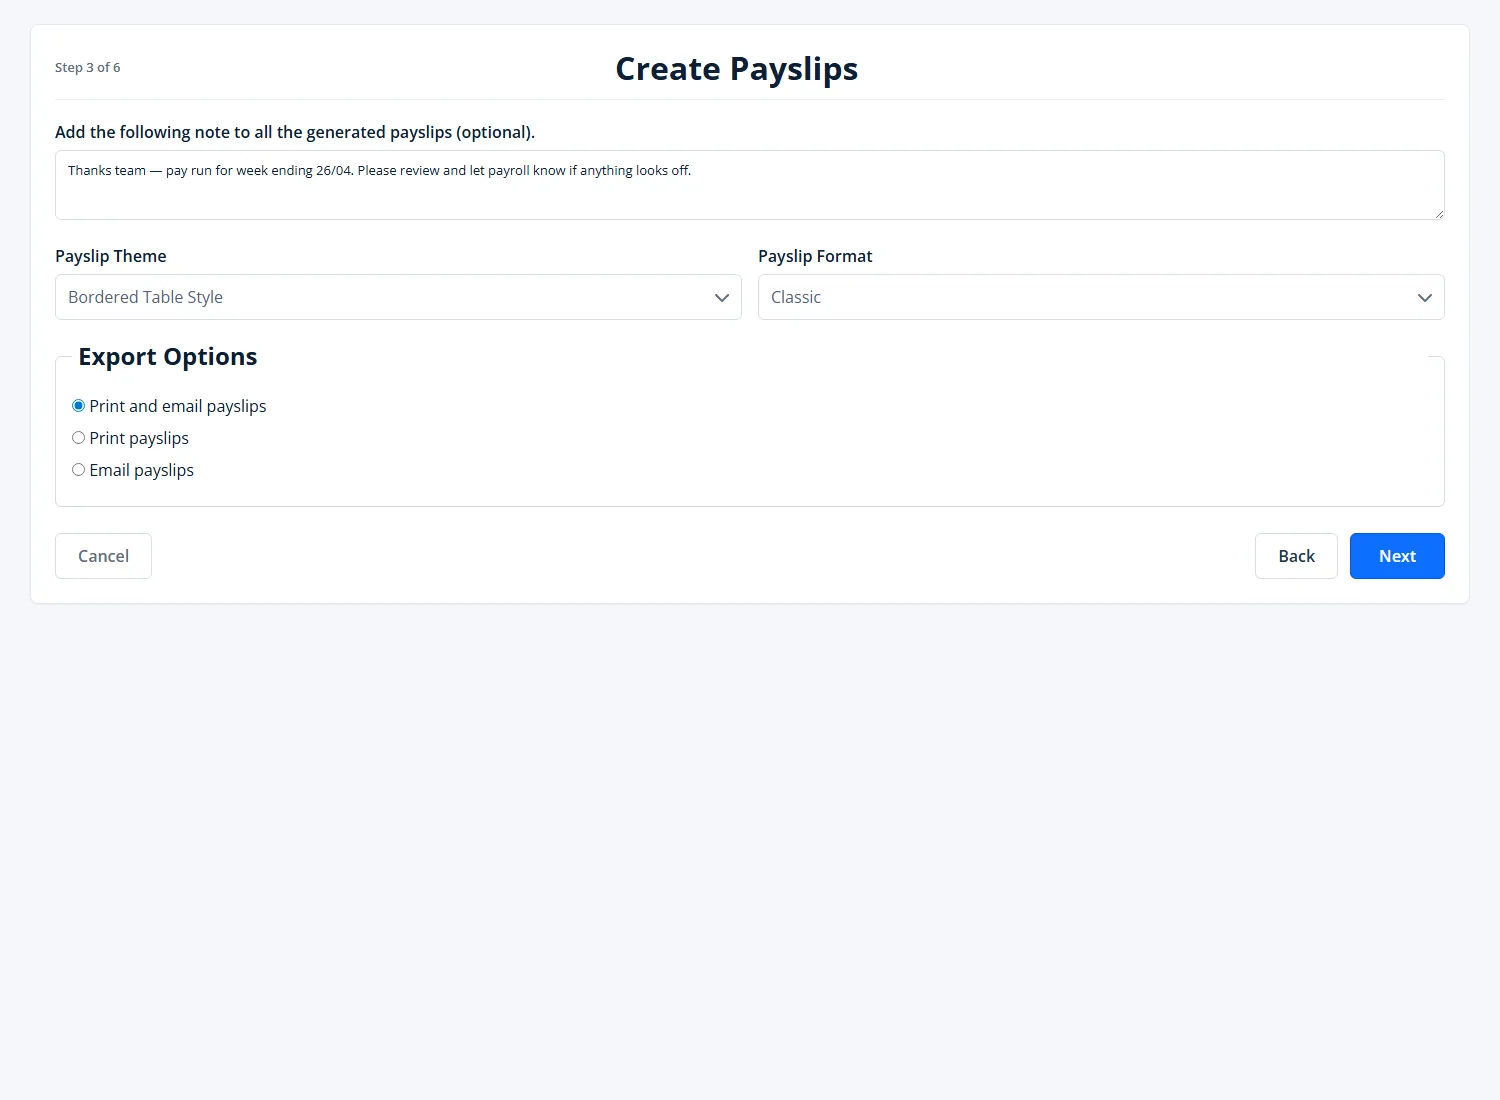
Step 5: Set the payslip note, theme, format and export option
This step controls how each payslip will look and how it will be delivered:
- Note (optional): any text typed here is printed on every payslip in this run. Useful for messages like "Public holiday loading included" or a note from the boss.
- Payslip Theme: choose between Original Style and Bordered Table Style.
- Payslip Format: choose Classic or Classic for windowed envelopes (use the windowed option if you post payslips in window-faced envelopes).
- Export Options: choose how to deliver the payslips:
- Print and email payslips - generate the printable PDF and then email payslips to employees who have an email address.
- Print payslips - PDF only, no emails.
- Email payslips - email only, skips the print/preview step.

Step 6: Confirm which individual pays to include
The wizard lists every completed pay that matches your earlier selections. Each row shows the employee, net pay and pay end date. Untick any pay you do not want included - for example if one employee should be paid later or has been handled separately. Pays that are not yet complete are not shown here, so if someone is missing, return to the Pays screen and finish their pay first.
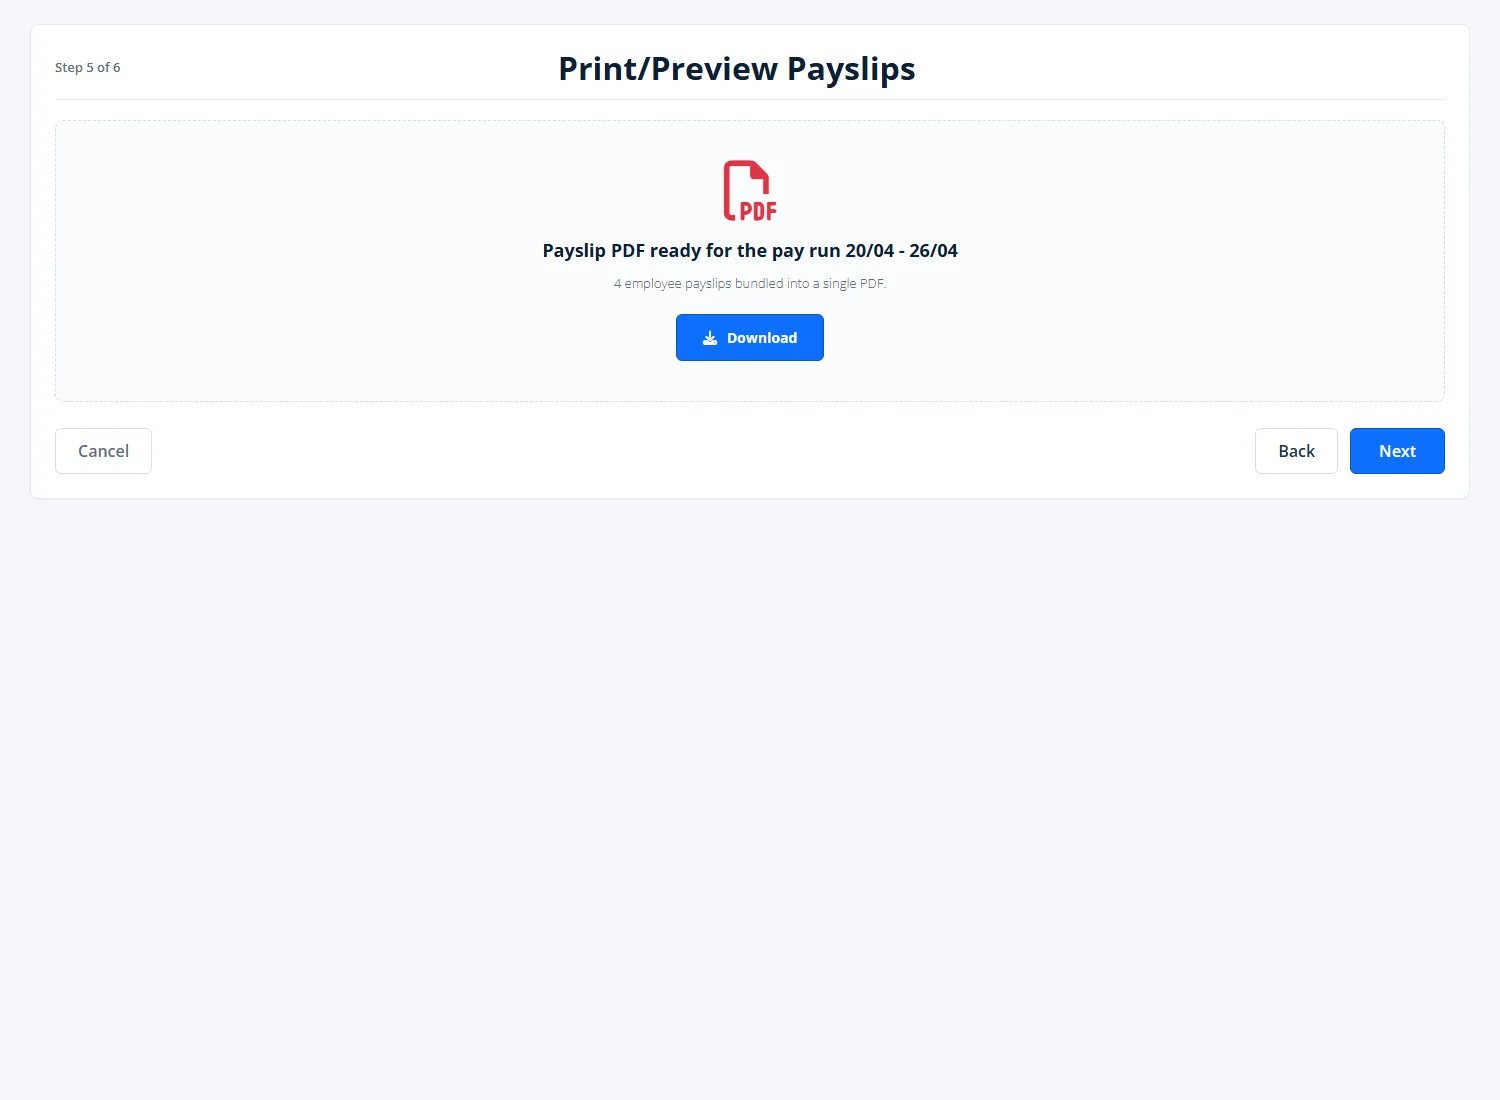
Step 7: Print or preview the PDF
If your export option includes printing, the wizard generates a single PDF containing every selected payslip. Click Download to save it to disk for printing or distribution. On mobile/hybrid app builds you will also see a Share button to send the file directly. If your export option is Email payslips only, the wizard skips this step and goes straight to the email screen.
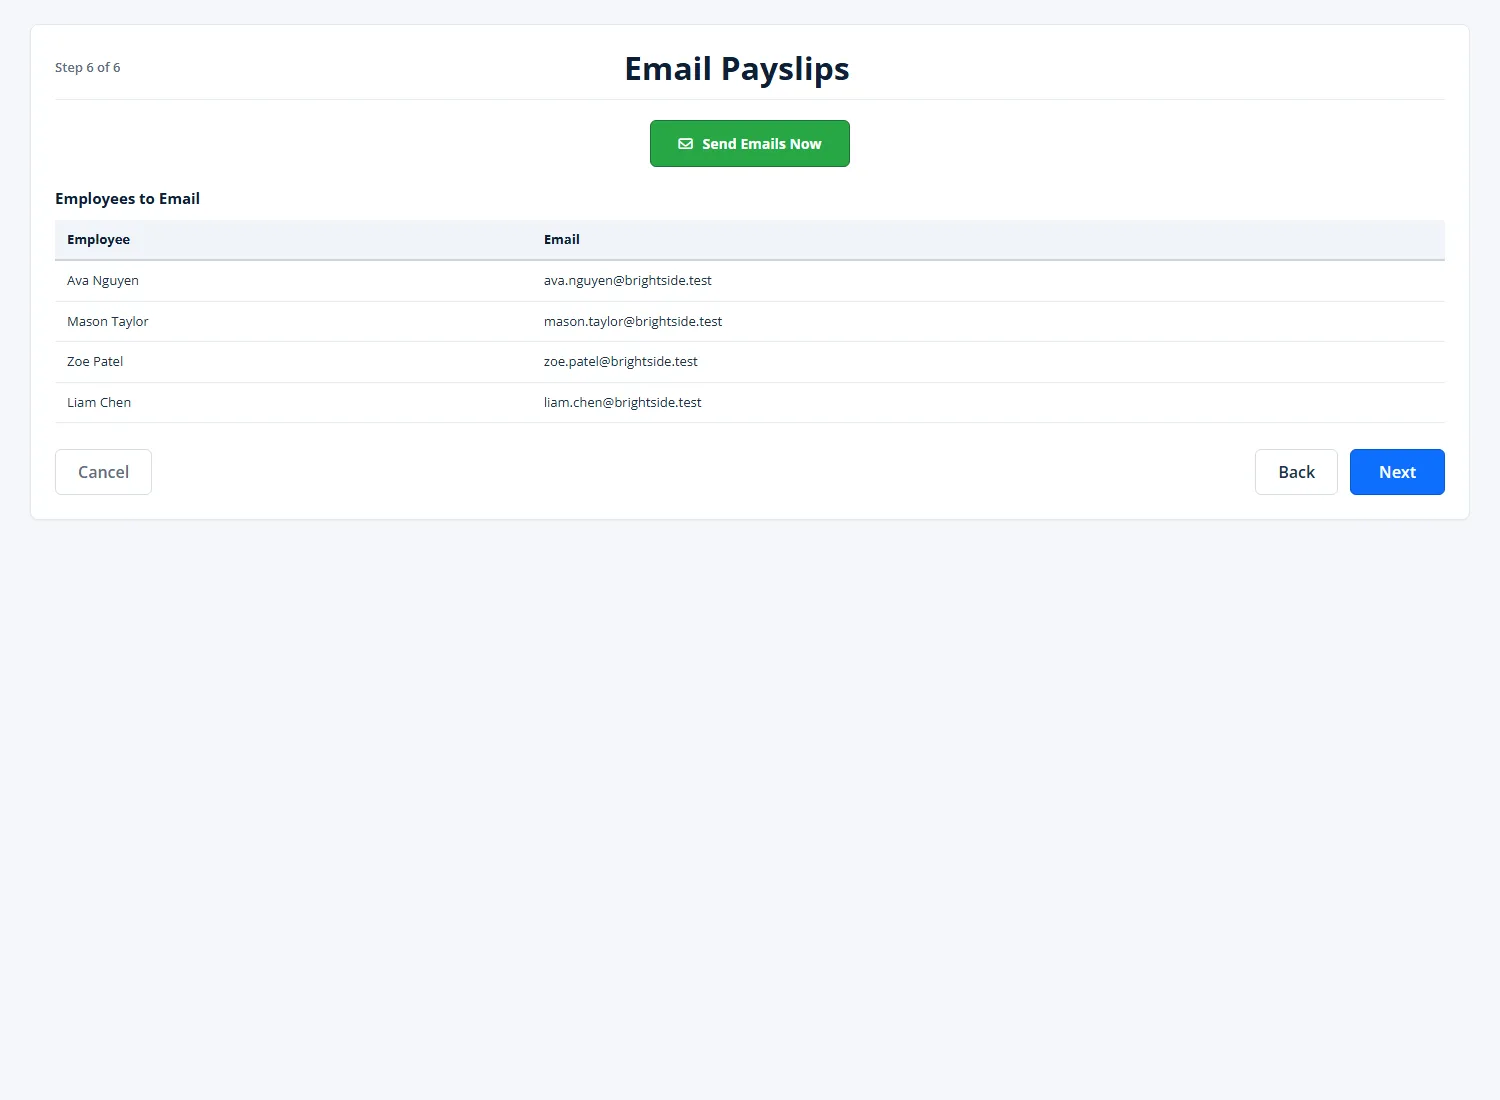
Step 8: Email the payslips
If your export option includes emailing, the final wizard step lists every employee that will receive a payslip and the email address it will be sent to. Review the list, then click the send button to dispatch the emails:
- In the desktop app: click Send! to send all payslip emails.
- In the online (web/mobile) app: click Send Emails Now. The button label updates to show the sending progress, and each row shows a Sending, Sent, or Pending status as emails are dispatched.
After sending, a results table appears showing each successful send and any errors (highlighted in yellow), so you can quickly spot bounced or missing addresses and follow up. If an employee does not appear in the email list, check that they have an email address recorded against their record.
Quick reference: This Pay Run vs Multiple Pay Runs
- This Pay Run: fastest path. Load the pay run on the Pays screen first, then choose This Pay Run. The wizard goes straight to the Create Payslips step (note, theme, format, export option), then on through Select Pays and the print/email steps.
- Multiple Pay Runs: use when the date range spans more than one pay run, when you need to filter to specific employees, or when you want to reissue payslips. The wizard adds the date range and employee selection steps before the Create Payslips step.
Common pitfalls
- Pay missing from Select Pays: the pay must be marked complete on the Pays screen first.
- Wrong pay period showing: double check the period combo (Weekly/Fortnightly/Monthly) on the Pays screen and use Last/Next Pay Run or Jump to Pay Run Date to land on the correct dates.
- Employee not in email list: they need an email address on their employee record. Add it and re-run the wizard.
- Wrong export option: the chosen export option determines whether you see the print step, the email step, or both - change it on the Create Payslips step if needed.

